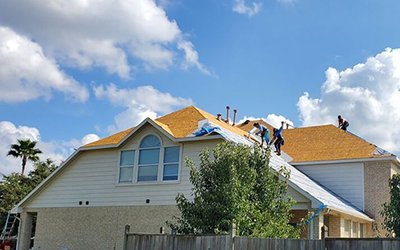
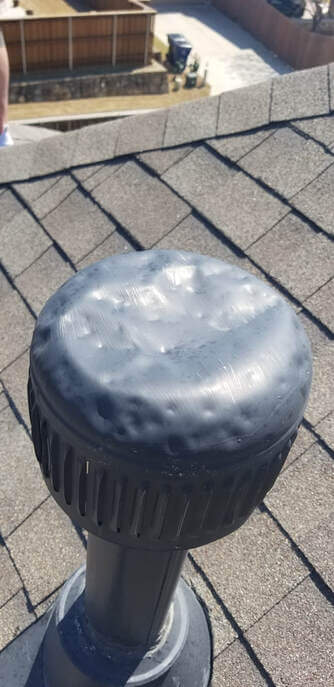
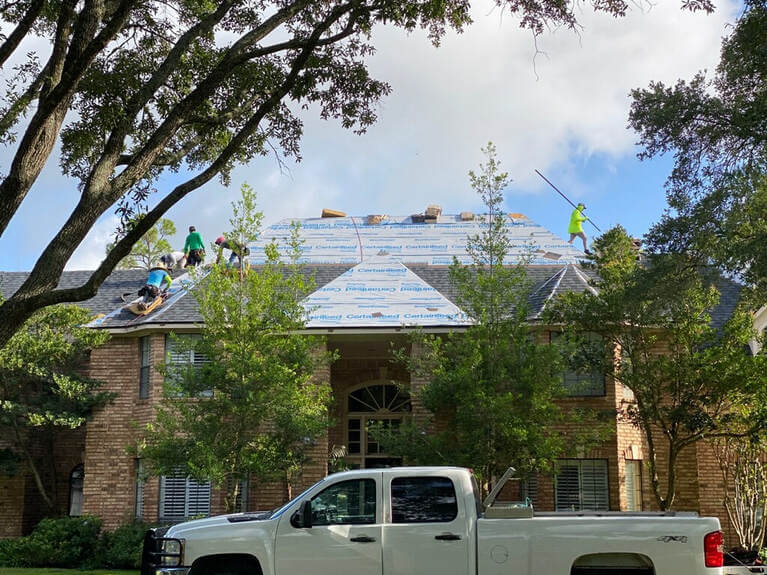
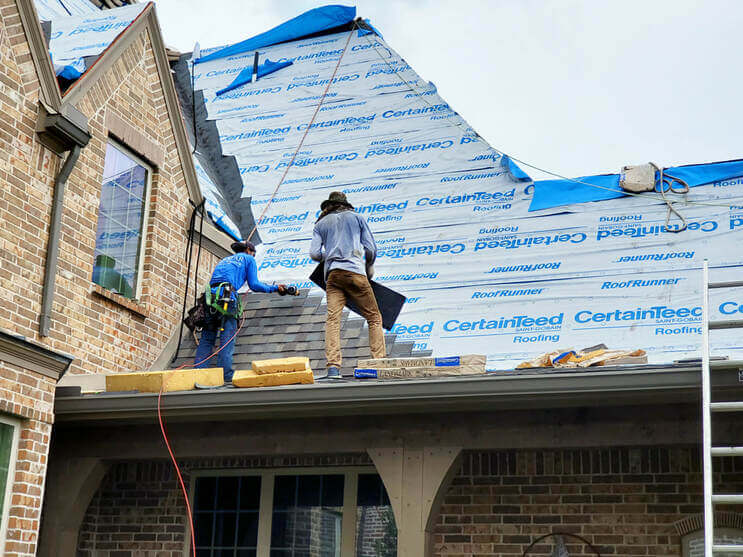
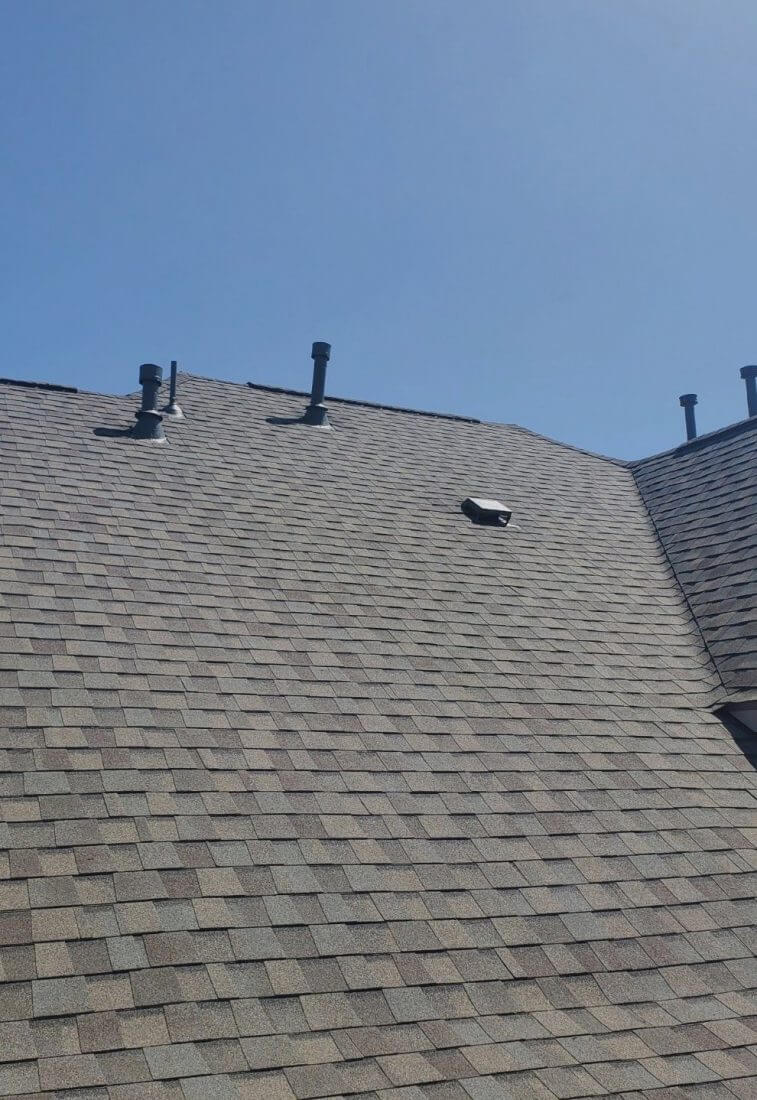
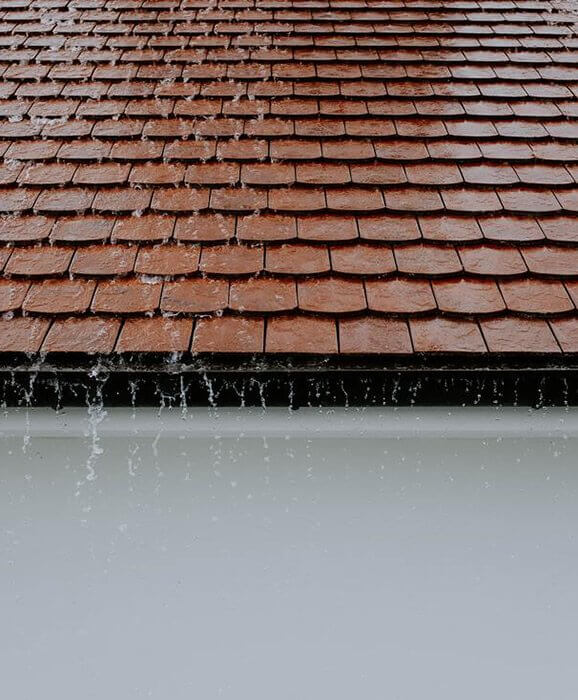
There was a severe storm that hit your area. Your house was pummeled with hail, or maybe a very strong wind. Or perhaps it wasn’t a storm, but an electrical attic fire, or a large branch damaged your roof. Suddenly, you’re faced with navigating the insurance claim process.
✓ Will the damage be covered?
✓ How much will they pay?
✓ How do I file a claim?
There is unfortunately, not just one answer. It depends on the insurance policy you purchased and other factors. But, don’t despair. This short article will help you sort out some good things to do and when. Brace yourself though, the claim and repair process will take time.
Most importantly though, don’t just ignore your damaged roof!
Start with a quick read of our previous article about storm damage and the steps to take. If you received severe damage, get some temporary weather protection over the damage until full repairs are underway. Remember – take photos and save all receipts – you will need them as proof later!
Watch out for scams from “storm chasers” that might show up at your door offering quick roof repairs. Read more about their scam tactic in our other article.
Next, dig out your insurance policy and make notes about your coverage. Your policy terms will determine what happens regarding your claim.

✓ What’s your policy number?
✓ Is there a claims phone number?
✓ Deductible: is it a percentage or dollar amount?
✓ Exclusions: are certain events not covered?
✓ Limits: what repairs have caps?
✓ Note deadline for filing a claim.
✓ Loss of Use: payment if your home is unlivable.✓
✓ ACV or RCV?
RCV or ACV dramatically affect the amount of money you are going to get!
✓ RCV stands for REPLACEMENT CASH VALUE. Your policy will pay to fix the damage using similar materials minus the amount of your deductible.
✓ ACV stands for ACTUAL CASH VALUE. If your roof’s lifespan was 20 years and it’s 10 years old, then 50% of its lifespan is gone. Insurance will pay 50% of the repairs after subtracting your deductible.
Your roof has been damaged, you’ve reviewed your policy, an insurance claim needs filed, but most importantly you need your roof fixed. This short 9-step guide gives you clear steps and useful information about the claim and repair process.

Documentation: Take photos and make written notes. If you hire a roofing contractor, check out our article on selecting the right one. Watch out for free inspections that commit you to only working with that contractor. Select a contractor prior to meeting with your insurance company, and one who has insurance claims expertise. Involve them in the claim process.

Notify Insurance: Get your policy notes out. Call the claims number and report the damage. The insurance company will arrange to have an Adjuster come out to inspect the damage.

Call the Contractor: It’s helpful to have the roofing contractor meet the Adjuster also. The Adjuster may not know local building codes. A good contractor can discuss details with the Adjuster so all needed repairs are identified. Direct communication between the Adjuster and contractor can remove you from being in the middle.

Meeting the Adjuster: Even if your contactor is there, have your documented damage and inspection report on hand to ensure everything damaged is included.
NOTE: If you believe the Adjuster isn’t accurate in what they approved for damages and costs, you can hire public adjusters to assess the damage and produce an independent report.

Insurance Money: Insurance will likely mail a check, but not for the full cost. Your deductible amount (and any ACV depreciation) will be deducted. If you have a mortgage company their name may be on the check also. Call the mortgage company and find out their procedure so you can cash the check.
NOTE: Communicate with the roofing contractor regularly so your project stays on their work schedule
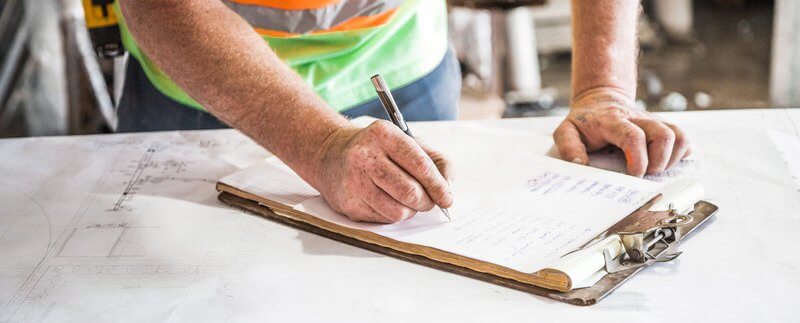
Repair Deposit: Transfer the required funds to the contractor.. Confirm the date they will begin your repairs.

Additional Damage: If the contractor discovers hidden damage, call your insurance company and communicate this and the additional cost. The Adjuster may return to inspect it. Get written confirmation the insurance agrees to the increase before giving the contractor the green-light.
Repairs Completed: Once the repair work has been finished forward the contractor’s final billing to your insurance company.

Final Payment: The insurance company will issue their final payment, but the arrangements you made with the contractor determines that deadline. With your final payment, remember to get a “paid” receipt along with any warranties they provided.
What about pocketing the insurance money if the damage isn’t that bad?
If you take the initial insurance funds and cancel the repair work, several things will happen. The final payment won’t be sent. Your roof, and any other damages related to it, will no longer be insured. Later, if you want to repair the roof, no insurance claim can be made. A damaged house will not qualify as collateral for most loans. If you try to sell the property, it will fail the buyer’s loan inspection. The value of the house will often be reduced more than the repair would have cost. The best financial decision is to use the insurance money to repair the damage.
Roof repair and an insurance claim is an important process and you can avoid the pit-falls. Remember this guide in your roofing repair project to be prepared and informed.


